
When you choose AFO 153 a list of available templates will be displayed:
The best way to start is by copying the template “default-Smart” and then edit this to reflect your needs.
You can also create a new template by clicking on the icon . This will bring up the following input form:

You can enter the following details:
· The name of the template.
· Public or private: whether this template can only be used by the current password or by everyone. If this is a template to be used by cataloguer, then it should be a public template.
· Comments: free text.
· The format for which this template is meant.
· Show template in cataloguing module: if you set this parameter you can create a template, but it will not be available for use in the cataloguing module.
· Apply template again at record status: choose a record status to which this template must be re-applied. The effect of this option is that also the fields that are valid but contain no data are shown again when editing a record. Normally all empty (sub)fields are removed when filing a record. When you choose provisional record an then apply this status to a bibliographic record, you will be offered the full template when next editing this bibliographic record.
· Begin with no fields, mandatory fields or selected fields. When you choose ‘no fields’ you start with an empty form. When you choose ‘mandatory fields’ you start with the already defined mandatory fields (in the Smart format these are language and title). When you choose ‘selected fields’ you will be offered the fields as defined in the default template.
When you have completed the form click on , and your template will be added to the list of defined templates.
You have the choose between empty, mandatory fields or selected fields. We recommend you start with mandatory or selected and not with an empty template. This results in a screen like the one below (mandatory fields):
The record editor is the same as in AFO 111. You can add and delete fields and subfields until you have created the template you need. Do not change the field names here.
To add or delete fields use a right mouse click.

This offers you options for adding or deleting (sub)fields.
Ensure that “<Enter> Key creates New (Sub)field” is not set. Otherwise you will get a row of question marks every time you hit enter.
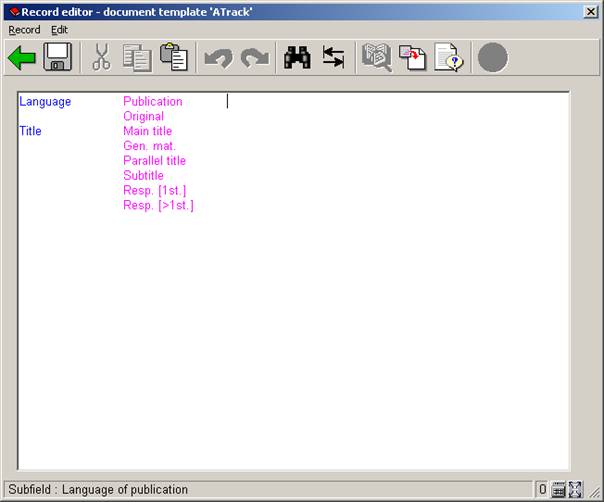
See the example below for a more extensive example:

As you can see the field ‘language’ already contains data. This means you do not have to enter this in AFO 111.
More about this can be found in the chapter on cataloguing.
From the list of templates you can edit the properties of each template. To do so select a template and then click on one of the icons described below.
Click on to edit the presentation style for each element of the template. These elements are: normal text, field labels, subfield labels and four types of data. What you can change is: the display colour and whether or not the display should be in bold and/or italics.
Click on to edit the presentation of the various columns. The columns are: General, Fields, Indicators, Subfields and Data. When you double click on one of them you can amend the following properties:
· Whether you want to display the code or the label (that is the full name, wording.
· What the edit mode is: Insert, No change allowed, Overwrite.
· The maximum width of the column (in number of characters).
· The characters that are allowed in the column. When nothing is entered here, all characters are valid.
· Substitution character.
Click on to change the field labels for the languages Dutch, English and French. Note that you only change the wording as used in the template, not the wording within the format. You can do this for both fields and subfields.
Click on to set certain parameters that could also be set on creation of the template. These are: whether the template is private or public, comments, whether the template is available in the cataloguing module, when the template must be re-applied.
Click on to replace the contents of the selected template with the contents of another template (which can be selected from a dropdown list).
The icon is similar to , the difference being that you copy the contents of the selected template to a new template.
Click on to set how the fields and subfields must be displayed in the dropdown list that is presented when adding a new (sub)field, for instance in the record editor in AFO 111. The choice is between ‘first text then code’ and ‘first code, then text’.
Once the template has been created you can start using it when creating new records through AFO 111.
· Document control - Change History
|
Version |
Date |
Change description |
Author |
|
1.0 |
unknown |
Creation Delivered as part of build 17 set |
|